This is another exciting post for me! I love getting to show you "process posts" where you are able to see the construction of a piece from start to finish!
I had recently been asked by a friend if I would be able to make a tulle skirt for her. Eager for the chance to create, I was in no position to say no!
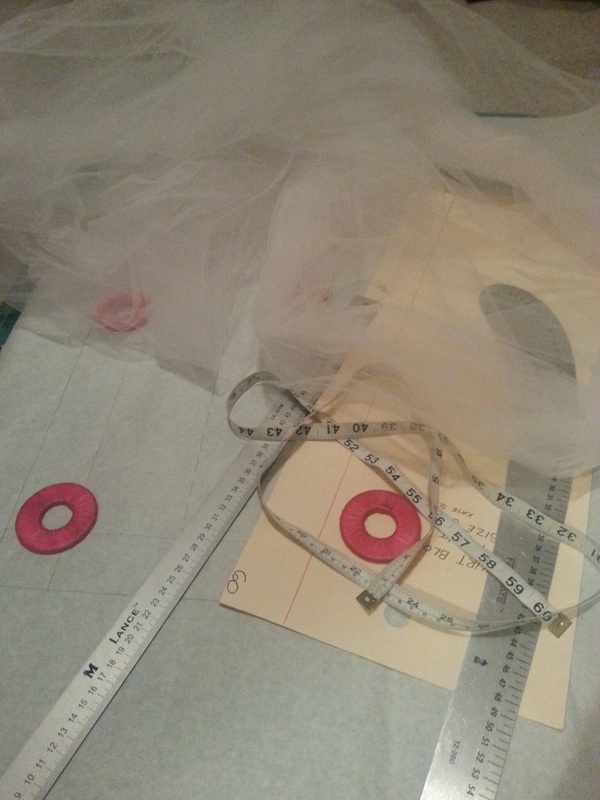
She sent me a picture for reference amd I immediately began to think how I would construct this piece. We met to discuss the style, layers, and fit of this skirt, and I started to draft that evening.
Drafting a tulle 'ballerina' skirt is fairly simple (I used a skirt block and altered it to have the right measurements). The layers of tulle are gathered at the waist which means I just had to slash the pattern piece and open it up to allow the piece to be gathered back down to the right side. (Bonus: tulle also doesn't need to be hemmed because it doesn't fray so no hem allowance needed!!)
I had recently been asked by a friend if I would be able to make a tulle skirt for her. Eager for the chance to create, I was in no position to say no!
She sent me a picture for reference amd I immediately began to think how I would construct this piece. We met to discuss the style, layers, and fit of this skirt, and I started to draft that evening.
Drafting a tulle 'ballerina' skirt is fairly simple (I used a skirt block and altered it to have the right measurements). The layers of tulle are gathered at the waist which means I just had to slash the pattern piece and open it up to allow the piece to be gathered back down to the right side. (Bonus: tulle also doesn't need to be hemmed because it doesn't fray so no hem allowance needed!!)

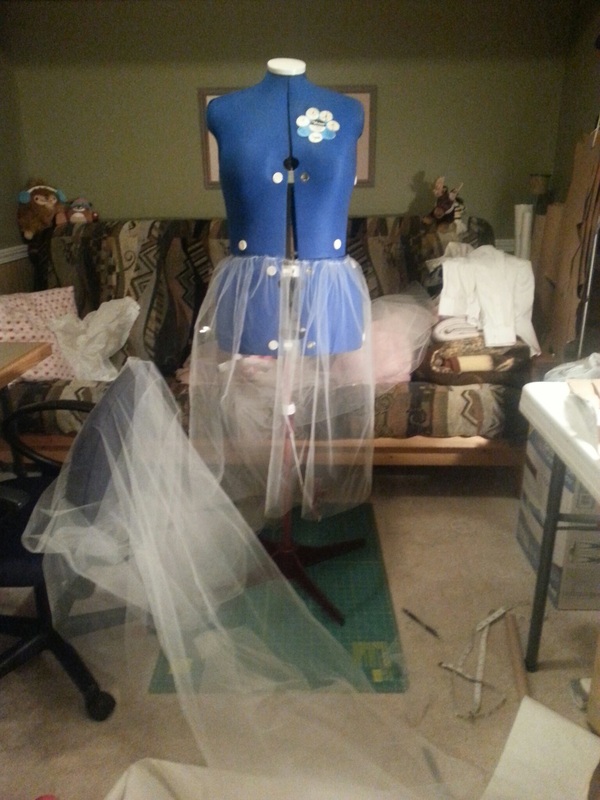
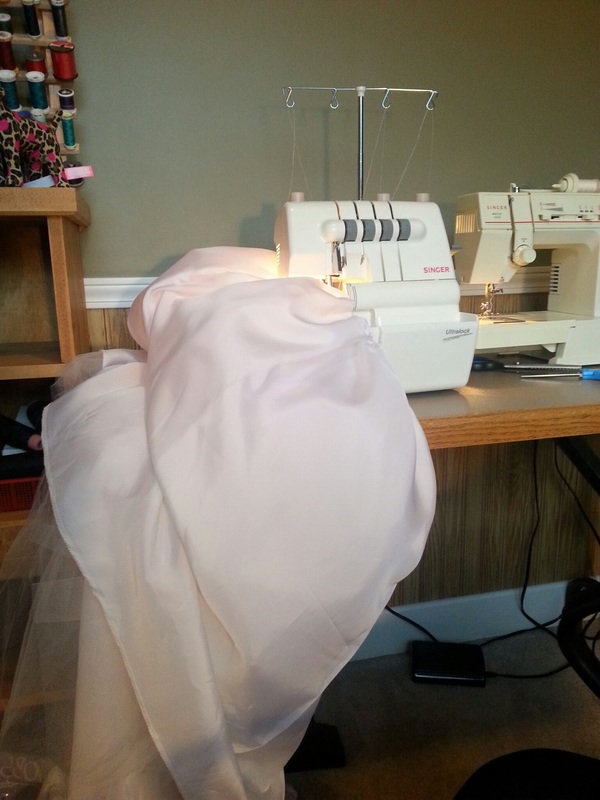
As a seamstress, I always get eager to see how a piece is going to turn out. Once the first layer of tulle was cut out, I made a basting line to gather, and pinned it to my mannequin to see the piece come to life (at this point, it was about 1 am....)
(side note: I had a good portion of the skirt sewn and decided to go about sewing it a different way so I took it all apart and started from square one. It happens.)
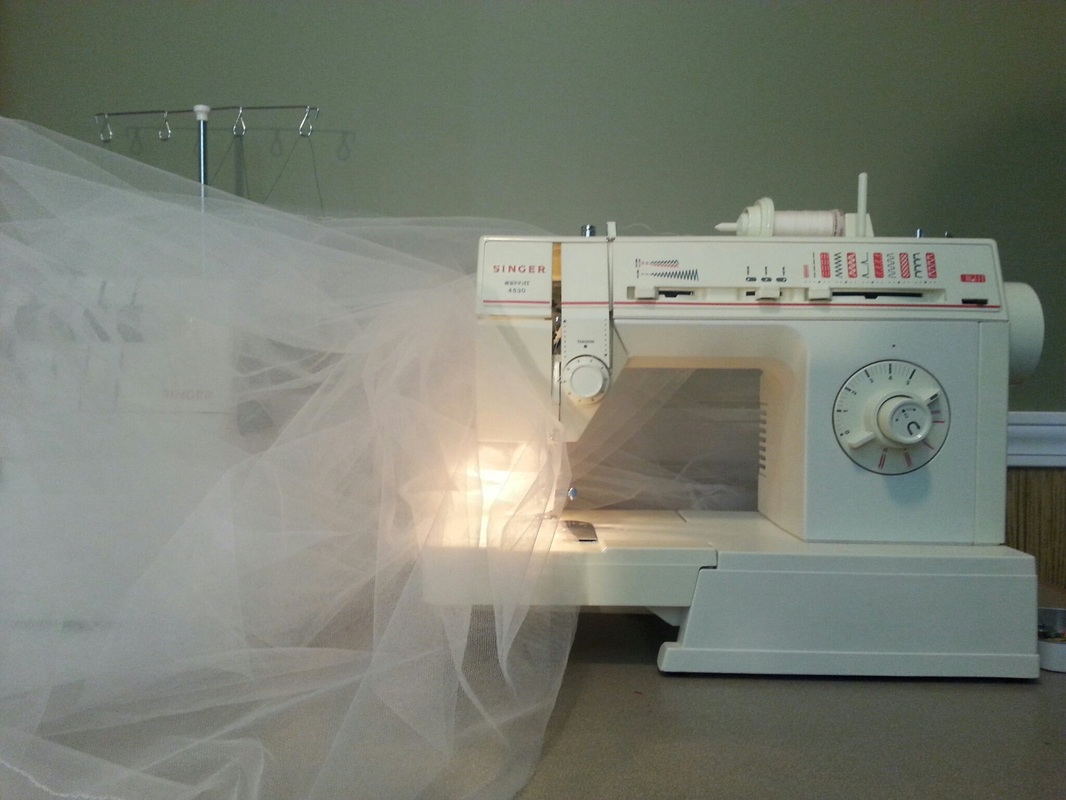
I started by sewing all 3 layers of tulle together in a basting stitch at the waist line so I could gather it down to size.

I then took the elastic (which I had already measured and sewn to create the waistband), and pinned the tulle to the elastic at the center front, center back, and side seams. I gathered the tulle in between each of my guide points a small amount, and gathered the rest by stretching the elastic and sewing it with a zig zag stitch to allow the elastic to retain it's original size.
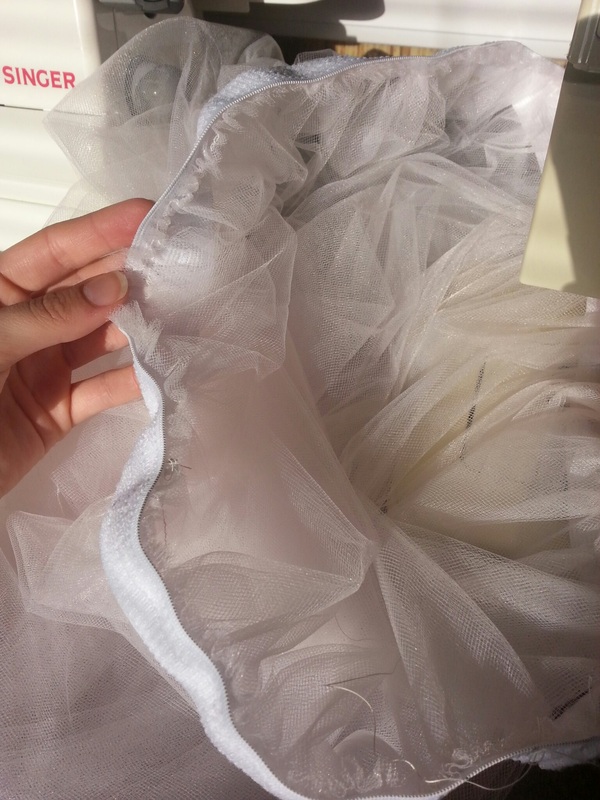
I proceeded to attach the lining in the same way- run a basting stitch along the waistline, and pinned it to the elastic and tool at each of my guide points. However, this time, I sandwiched the elastic between the tulle and lining so the skirt is clean finished from the outside, and inside.
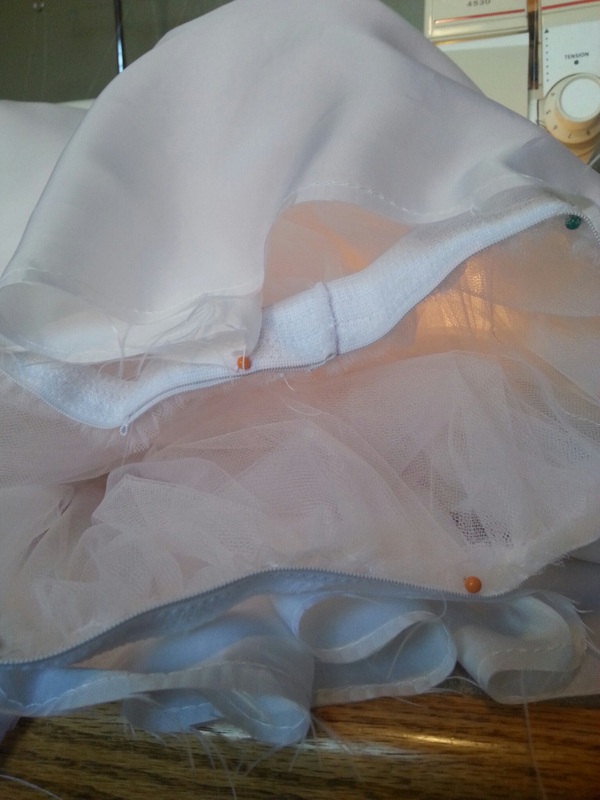
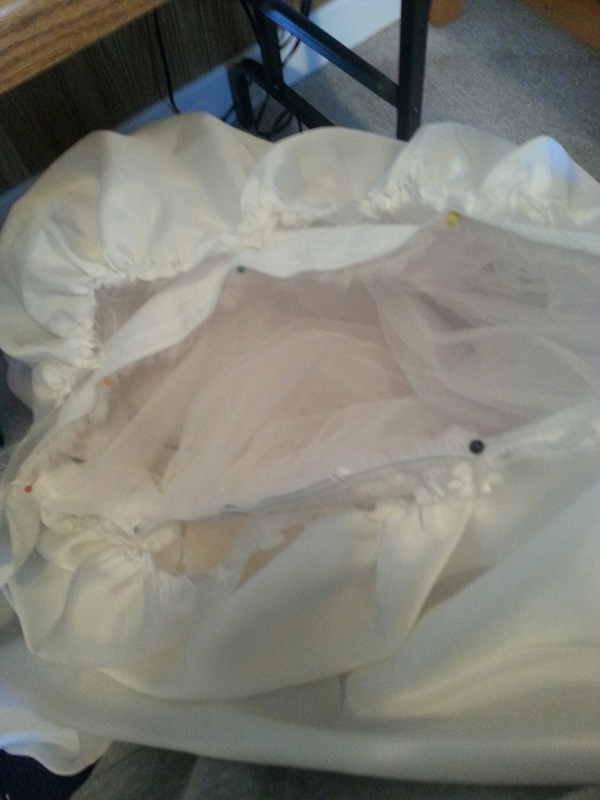
I used my serger to attach the lining as it would clean finish it nicer than just using a zig zag stitch. A serger works very well on elastics and knits as it allows the fabric to stretch and retain its shape.
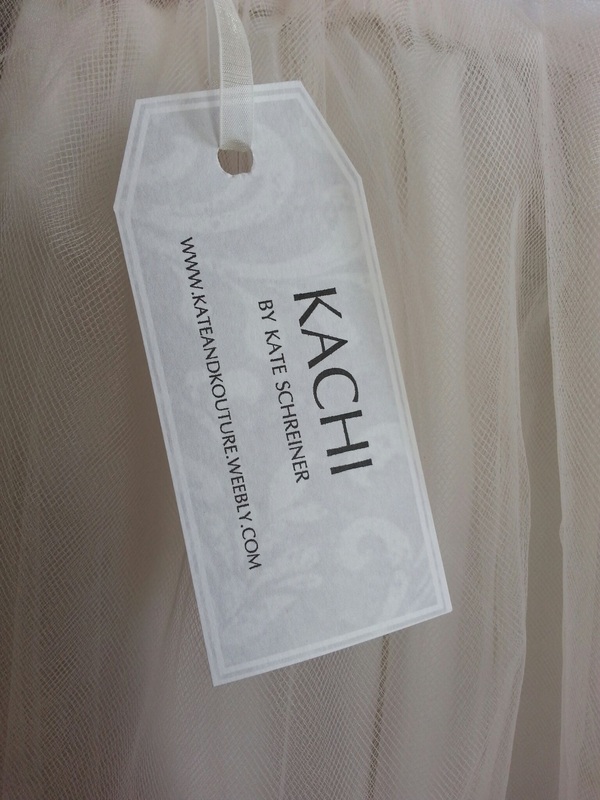
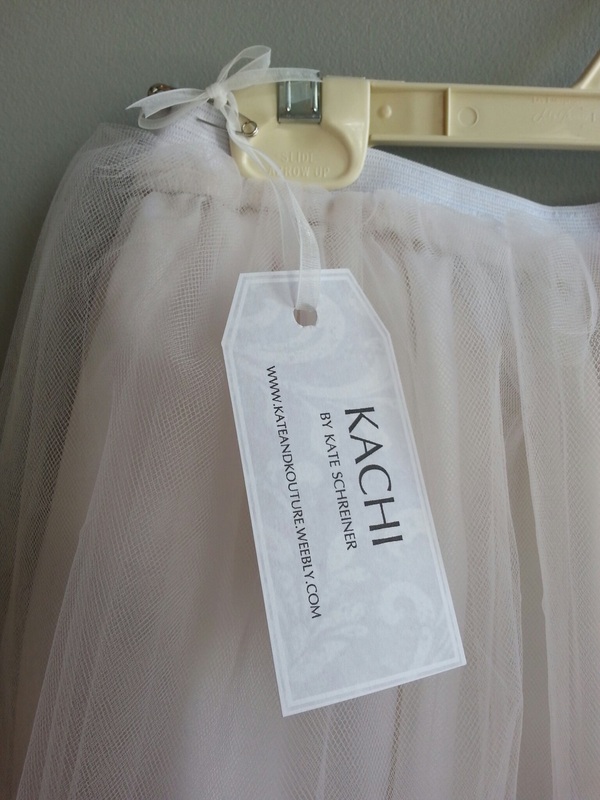
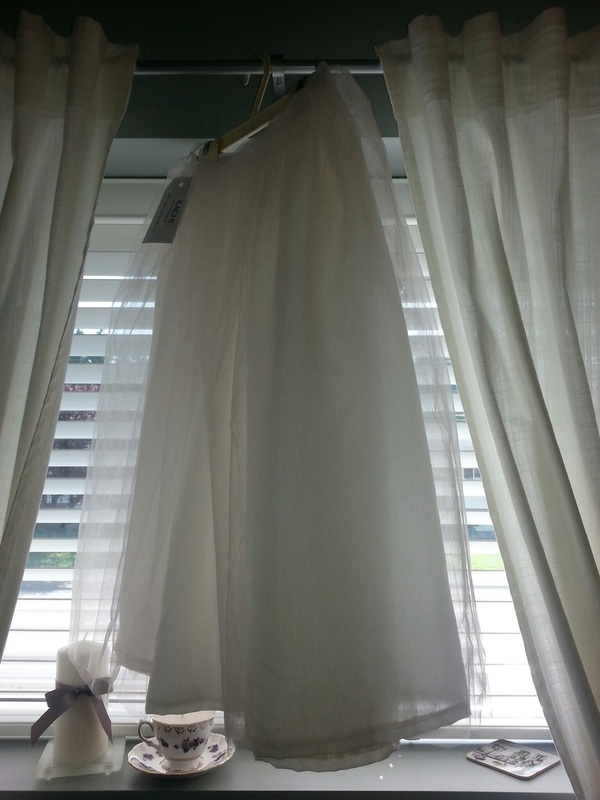
No piece is completely finished until it has a KACHI tag sewn into it!

Because this piece was being sold to a customer (and friend), I thought it would be a nice touch to create a hang tag that was pinned to the outside of the garment. I used adobe illustrator to create the shape of my tags, and found a very delicate and pretty background, made some adjustments to it, and boom, KACHI hang tags!
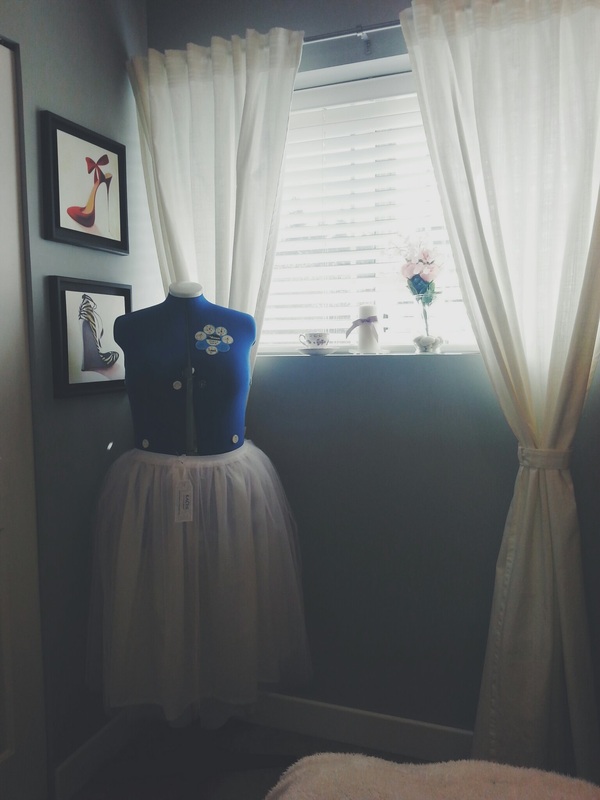
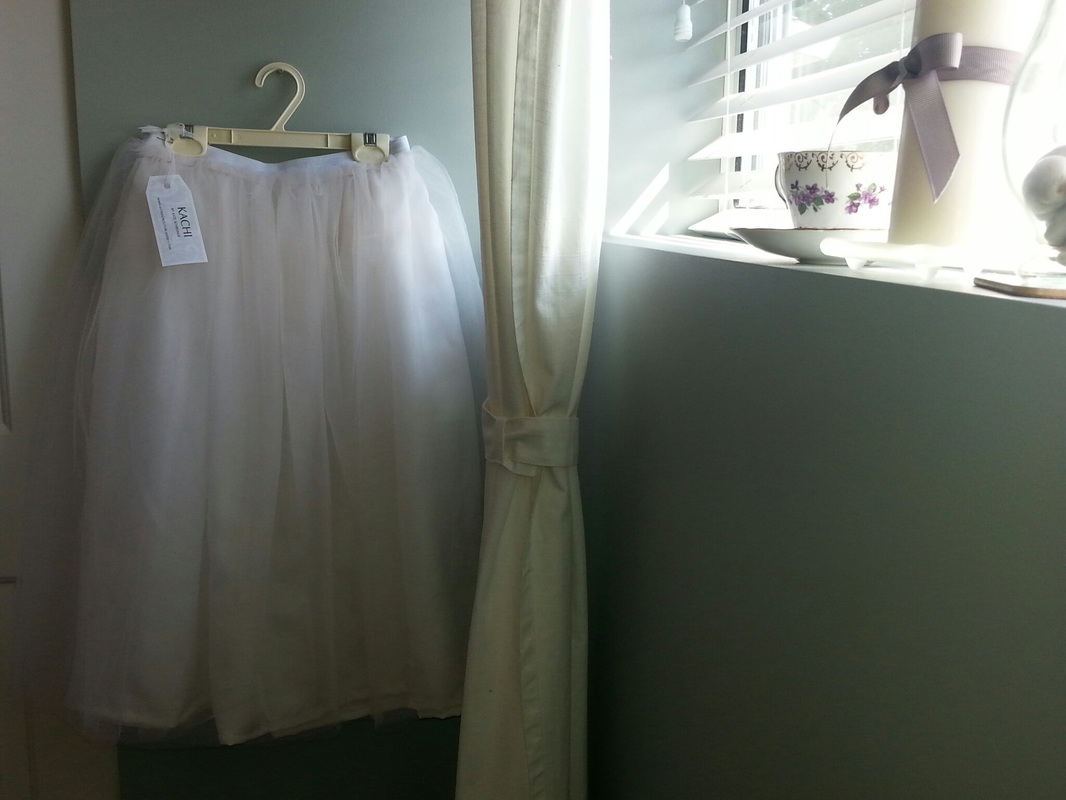
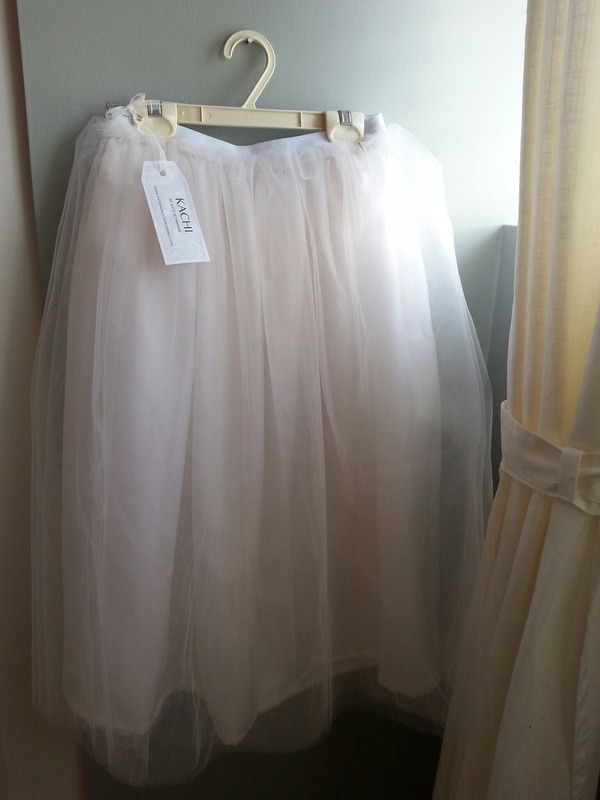
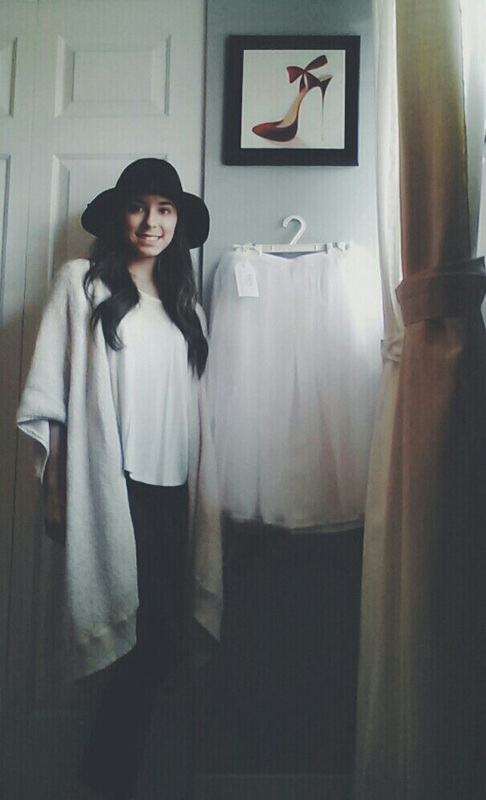
And to finish it off...an incredinly low budget "photo shoot".

 RSS Feed